
Wet Wall Panels: A Homeowner’s Guide
Updated 11 October 2026
Wet wall panels cover bathroom or shower walls in larger sheets than tiles, usually with fewer joints to clean. They still need suitable preparation, correctly sealed junctions and ongoing care. This guide helps Glasgow homeowners compare panel types, finishes and fitting requirements before choosing them for a shower area or a complete bathroom refit.
Choose the panel system, not just the pattern
Panels can have different materials and construction, including plastic, laminated boards and other composites. Their thickness, joining system, support and cutting requirements vary. Ask for the exact range and installation instructions before comparing prices. A product intended as decorative wall cladding is not automatically suitable inside a shower. Confirm the proposed use with the manufacturer and installer rather than assuming that every panel sold for a bathroom performs in the same way.
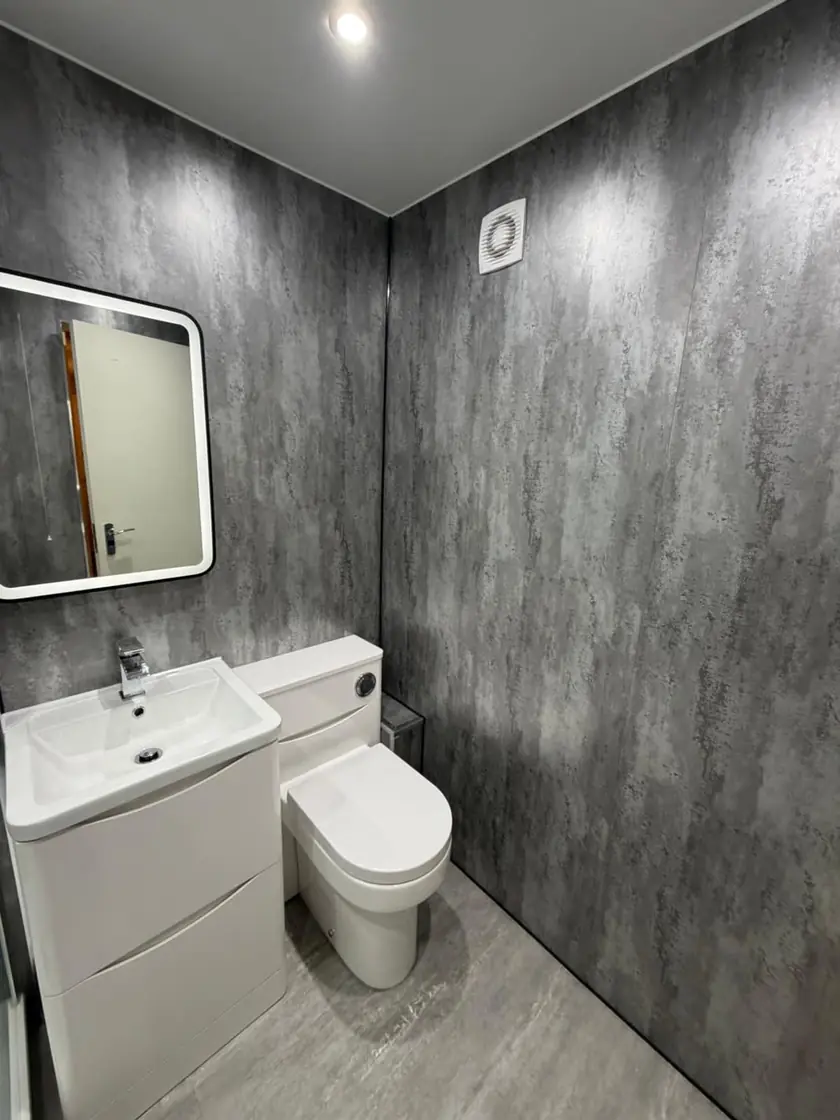
Look at the panel size and how joints will fall around the room. A broad stone pattern may repeat or need a particular arrangement. A tile-effect panel gives a different appearance from individually fitted tiles and grout. View a larger sample where possible, including its texture and sheen. Our wet wall bathroom service in Glasgow is a starting point for discussing suitable finishes and the work they require.
Check the walls before covering them
The existing wall beneath the panels must suit the selected system. Loose surfaces, damp or damage need investigation and preparation rather than being hidden. Some systems can be installed over suitable existing tiles, but that depends on their condition and the manufacturer's instructions. Ask the installer to assess the wall and explain any extra thickness around windows, fittings and trims. Overlaying is not automatically the right shortcut for every bathroom.
If old finishes are being removed, agree what happens if damaged plaster, boards or pipework are found. Keep necessary repairs separate from decorative choices so you understand the quote. The new finish should follow a suitable prepared wall beneath the panels. Ask which checks can be made before the old bathroom is removed and which remain uncertain. A promise of a quick panel installation should not bypass work that the wall genuinely needs.
Plan joints, fittings and storage before installation
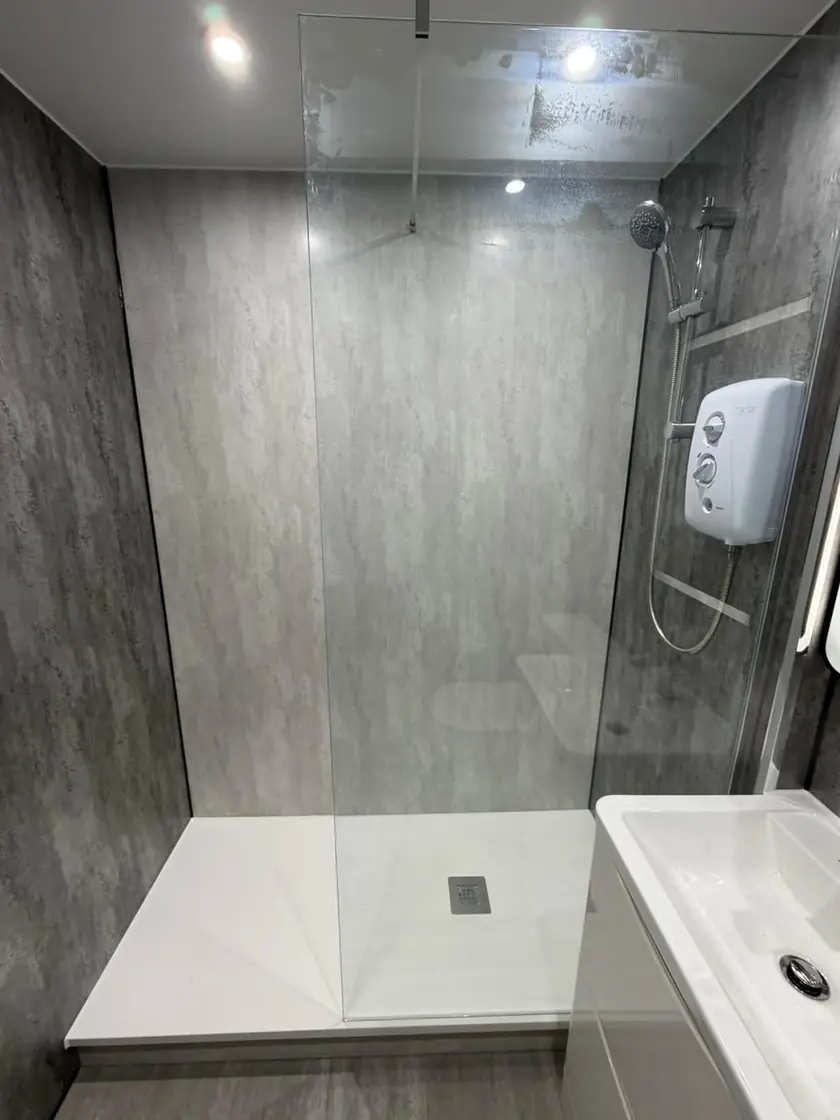
Panel joints, corners, edges and connections to the bath or tray must follow the selected system. Tongue-and-groove edges do not remove the need for the specified sealant or other joint treatment. Pipe openings and fixings also need suitable seals. Ask which trims will be visible and how their finish relates to the panels, taps and screen. These details can affect the final appearance as much as the main pattern.
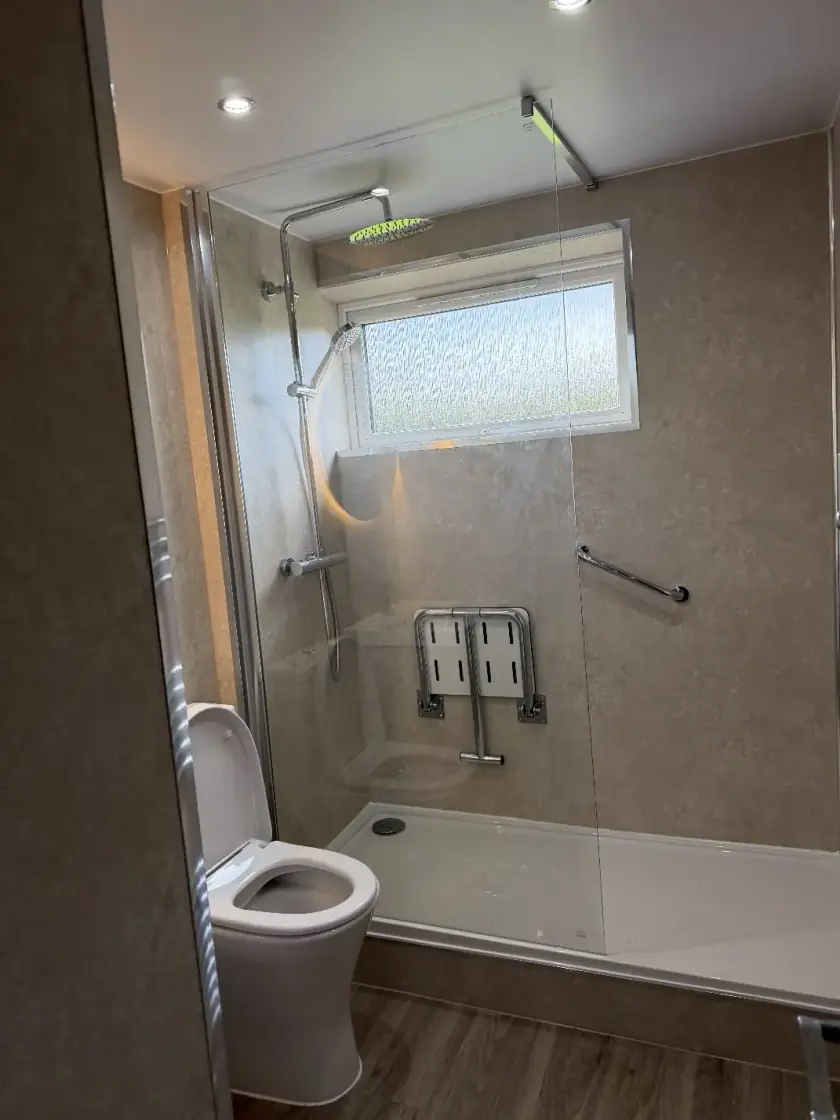
Plan shelves, shower fittings, seats and rails before the wall is finished. Heavier or load-bearing items need suitable support behind the panel; the panel face alone is not a general fixing surface for them. A recessed niche needs its own compatible construction and waterproofing. Do not assume that adding panels creates level shower access or makes the floor slip-resistant. Those are separate parts of the bathroom design.
Compare care and repair with tiled walls
Panels remove most grout lines, which can simplify wiping the broad surfaces. They are not maintenance-free, and seals and joints still need attention. Follow the actual cleaning instructions and avoid unapproved abrasives, chemicals or polishing products. Keep ventilation in the plan and report a failing joint or recurring damp. No panel finish guarantees that a bathroom cannot develop mould or suffer a leak elsewhere.
Ask how a damaged panel would be dealt with and whether a replacement would require other fittings to be removed. A repair can involve a larger area than replacing an individual tile, though tile repairs also depend on access and matching material. Our wet wall and tile comparison explains the practical differences without assuming one finish always lasts longer or costs less.
Compare the full quotation and keep product details
Include the panels, trims, specified adhesives and sealants, preparation, installation, waste removal and repairs to walls and floors disturbed by the work. Check the treatment around windows and any awkward corners. A panel price alone does not show the complete cost, especially where walls need repair. Ask for a realistic schedule based on the room and selected system, including when the shower or bath can first be used after installation.
Record the range, colour and finish in the accepted specification. If a substitute is proposed, compare it with the rest of the room and have its requirements checked before agreeing. At handover, ask how to clean the panels and what to do if a seal changes or a joint opens. Keep the instructions, invoice and relevant guarantees together so the exact system can be identified later.
To discuss panels as part of a new bathroom, call Dream Bathrooms Glasgow on 0141 471 9145. Bring photographs of the existing walls and any known damp or repair concerns, along with a few finishes you like. That allows the conversation to cover the preparation and installation as well as the appearance, so you can compare a complete proposal rather than only a sample board.
Plan your bathroom in Glasgow
Talk through your room, the changes you want and the work that needs to be included.