
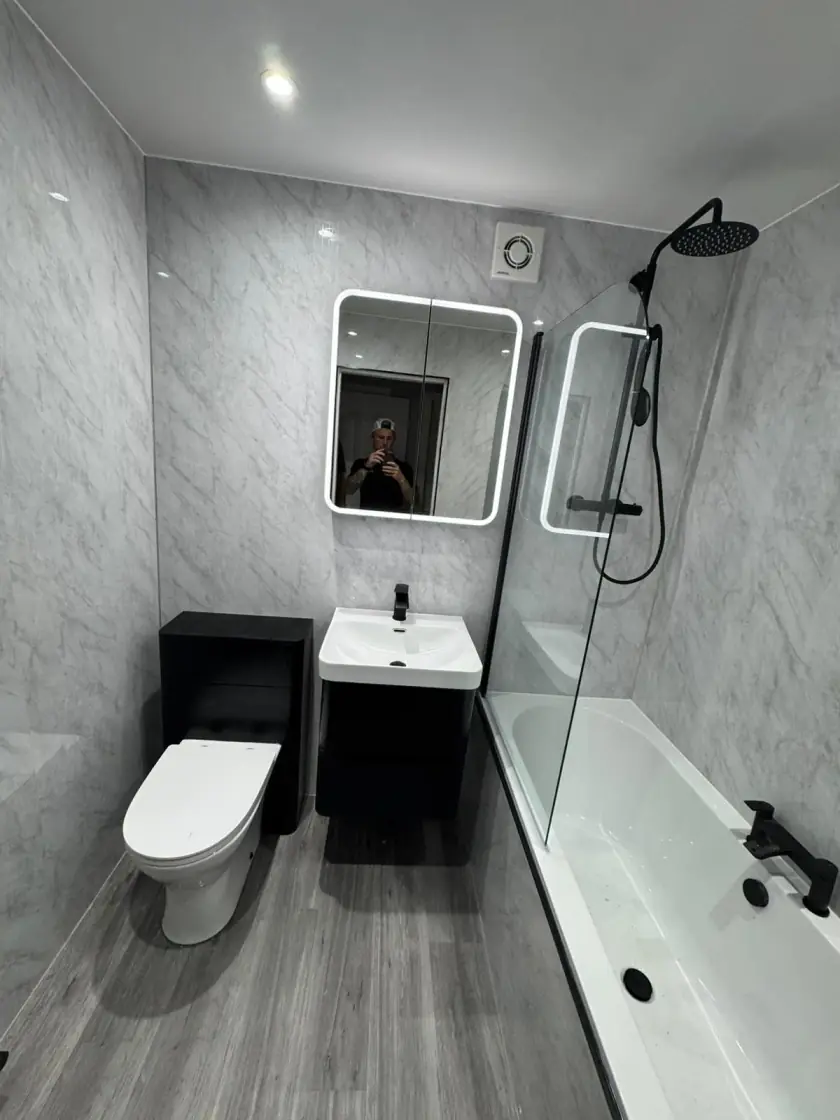
Stone-Effect Wet Wall Panels for Glasgow Bathrooms
Updated 11 October 2026
Stone-effect wet wall panels give bathroom walls the look of marble, slate or another stone without using that stone as the wall finish. They can reduce grout cleaning in a shower, but the product, joints and installation details matter as much as the pattern.
Check the panel behind the pattern
Similar stone designs can be printed on different types of panel. The core, surface, thickness and joint system affect how the product is installed and used. Ask for the exact range and specification, not just a photograph or colour name. Check that the panel is intended for the position being proposed, including direct shower areas where relevant.
The complete system matters. Adhesives, sealants, trims and connections need to follow that manufacturer's instructions. A waterproof-looking surface does not make every joint watertight. Keep the product details with the quote so that the supplied panels and installation materials can be checked against the agreed choice before fitting begins.
View a larger sample of the design
A small sample may show the colour but miss the scale of a marble vein or stone pattern. Ask to see a full panel image or display, then compare the sample in your bathroom's light. Strong veining can look busy across several walls, while a softer pattern may be easier to combine with furniture and flooring.
Check whether the pattern repeats and how adjoining panels are intended to meet. Do not assume separate sheets will create a continuous stone image. The installer should plan where visible joins and cuts will fall, particularly behind a basin or across a shower wall. A deliberate layout can look more considered than a pattern interrupted at awkward points.
Choose the finish for the whole room
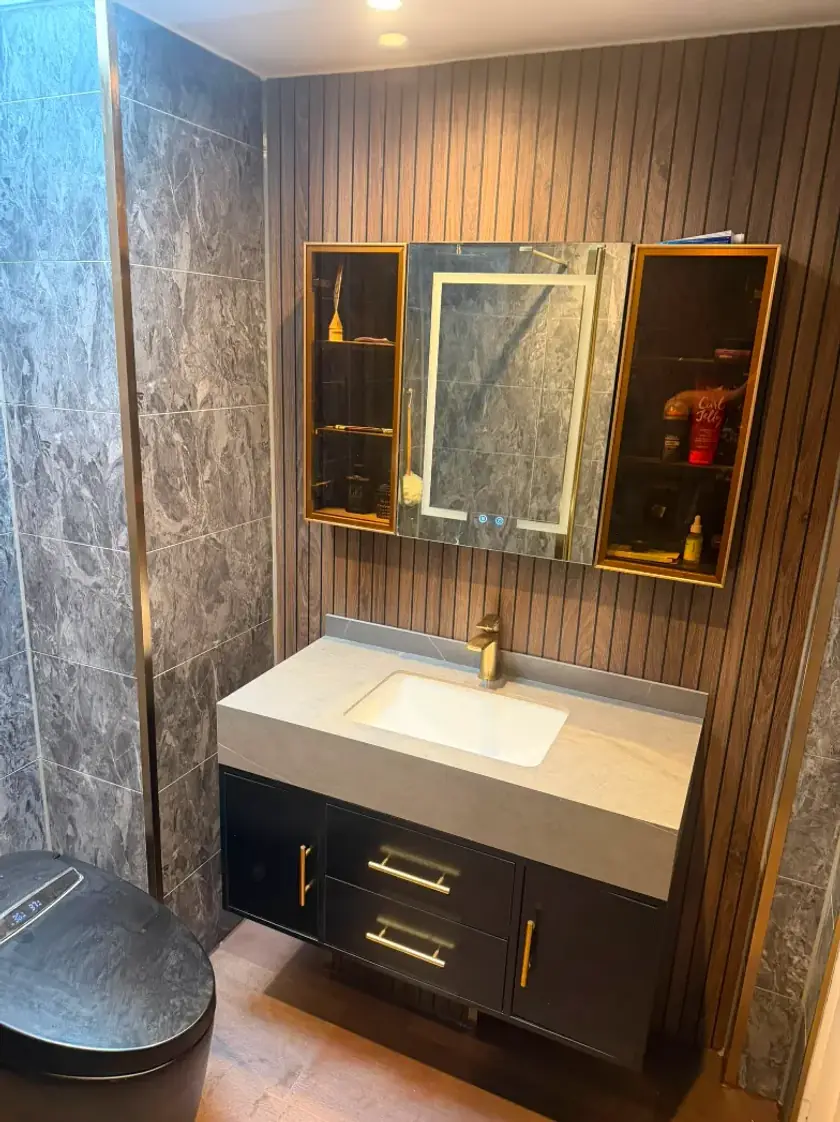
A light stone effect can work with white fittings and a wood-tone vanity, while a darker panel may provide contrast in one area. Compare all the permanent finishes together. Two different stone patterns can compete, especially in a compact bathroom. A plain floor or furniture front may allow the wall pattern to remain the main detail.
Gloss and matt surfaces reflect light differently, so choose under realistic lighting. The look of a textured finish also needs checking alongside its cleaning instructions. Do not select bathroom flooring based on a wall panel sample: the products have different jobs. Keep the walls attractive while choosing the floor separately for its intended wet use.
Inspect walls before covering them
The installer needs to check that the existing surface is suitable for the selected system. Loose tiles, damaged plaster or damp areas may need work before panels are fitted. Some systems permit installation over suitable existing tiles, but this is a product-specific option, not permission to cover any tiled wall regardless of its condition.
Ask what preparation is included and how additional damage would be handled if found during removal. Covering a leak or unstable surface can leave the underlying problem in place. The finished wall also gains thickness, which can affect taps, trims and window details. Include those changes in the plan rather than discovering them when the panels arrive.
Plan corners, windows and fittings
Corners and the connection to the bath or shower tray are important parts of the installation. Ask how these will be finished using the chosen system. Window reveals and exposed panel ends also need a clear detail. A quote that names only the number of panels may leave out trims and work that affect both appearance and performance.
Shower screens, rails and accessories need suitable support; the decorative panel alone may not provide it. Their positions should be planned before fitting, with fixings and holes through the wall finish handled as specified. Leave access to serviceable plumbing parts. A tidy wall is useful only if the fittings are secure and future repairs remain possible.
Follow the cleaning instructions
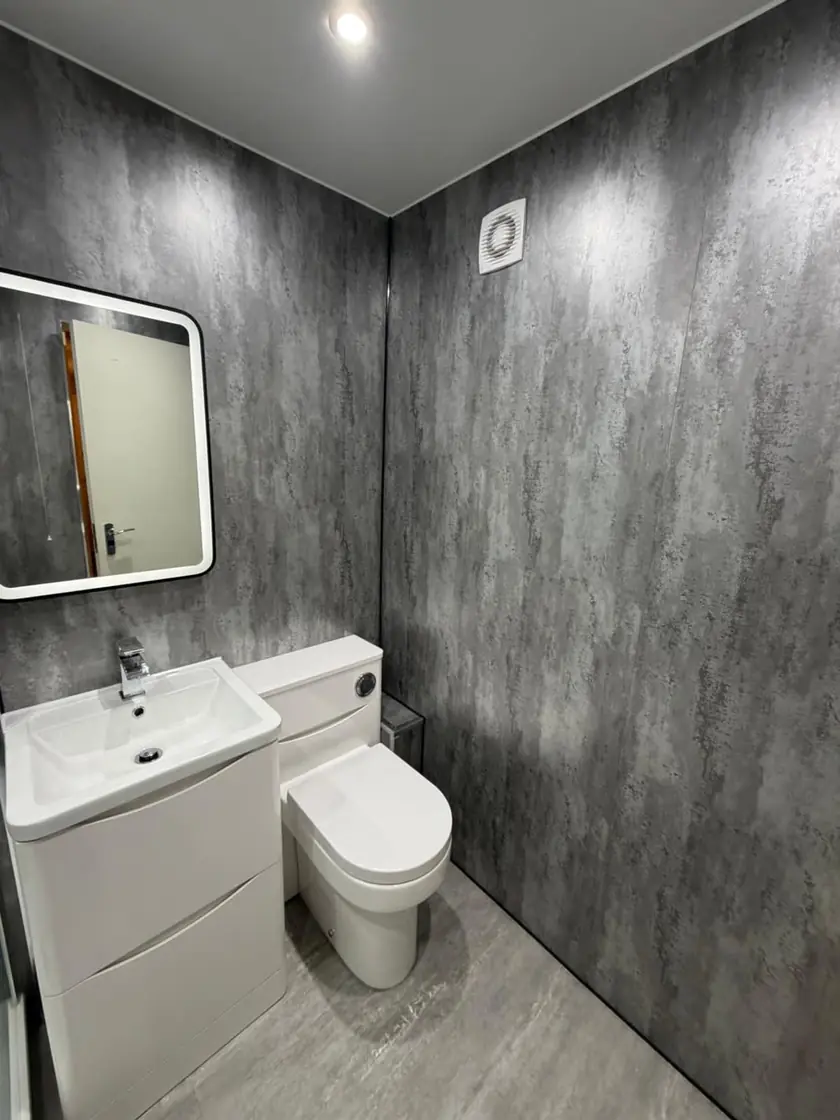
Use the cleaning method approved for the exact panel surface and its fittings. A soft cloth and suitable cleaner may be all that is needed for routine care, but do not assume every bathroom spray, limescale remover or bleach product is permitted. Abrasives can damage some finishes, and sealants or metal trims may have separate care requirements.
Keep joints and seals under review and deal with damage promptly. Fewer grout lines do not mean no maintenance, and panels do not replace ventilation. If a section becomes loose or damaged, seek advice about the cause and repair. Replacing one panel may involve adjoining joints or fittings, so it is not always a simple isolated swap.
Compare the installed cost with tiles
Compare quotations for the same wall area and level of preparation. Include panels, trims, approved installation materials, cutting, fitting and removal where needed. A panel's ticket price is not the complete job price. Awkward window details, many fittings or damaged walls can affect the work even when the main wall area is small.
Tiles offer different sizes and patterns, while panels can reduce the amount of grout in the finished shower. Neither is always cheaper or automatically longer lasting. Compare the appearance, cleaning routine and product terms alongside the installed price. If a guarantee is offered, ask what it covers and which fitting and care conditions apply.
Plan your Glasgow wet wall bathroom
Our wet wall bathroom service in Glasgow is a place to compare stone effects and discuss the complete installation. Bring photographs of your room and samples of any flooring or furniture you want to keep. That helps narrow the choice to a finish that works with the actual bathroom.
For a wider design approach, see our simple bathroom colour and material ideas. Agree the exact panel, joint details and included preparation before ordering. Call Dream Bathrooms Glasgow on 0141 471 9145 to discuss the room and the wall finish you would like.
Plan your bathroom in Glasgow
Talk through your room, the changes you want and the work that needs to be included.