
Horizontal or Vertical Bathroom Tiles: Planning the Layout
Updated 11 October 2026
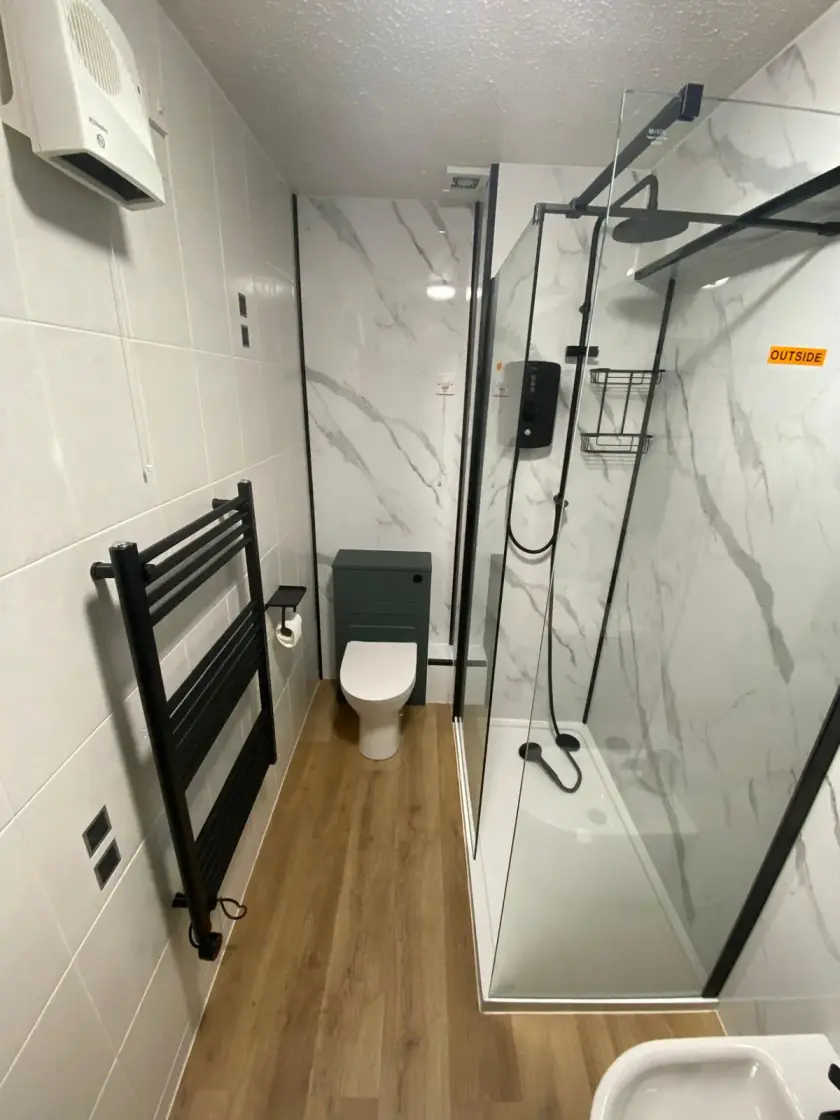
Turning a rectangular tile changes the pattern on the wall, but it does not change the space available in your bathroom. Compare horizontal and vertical layouts alongside the window, bath and vanity. The best arrangement is usually the one with balanced cuts and a pattern you like from the doorway.
See what changes when you turn the tile
Horizontal tiles have their longer edge running across the wall. Vertical tiles have the longer edge running upwards. Either direction can be arranged in straight rows or a staggered pattern. Before comparing them, keep the tile, grout colour and joint width the same so you can see what the change in direction actually does.
Horizontal lines may draw attention across the room, while vertical lines may draw the eye upwards. These are visual effects, not fixed rules about making every bathroom look wider or taller. Colour, contrast, lighting and the fittings can have a stronger influence. A photograph of a large empty room is not a reliable guide to your compact bathroom.
Start with the wall you see first
Look from the bathroom doorway and identify the largest clear area of wall. A vanity, mirror or shower screen may hide much of the tiling elsewhere. Mark these fittings on a simple wall drawing before choosing the pattern. This helps you avoid spending extra on a detailed layout that will mostly sit behind furniture.
Compare the tile direction against nearby lines, such as the top of the bath or the side of a tall mirror. You do not need every edge to line up, but obvious near-misses can look accidental. A balanced layout across the visible wall is often more useful than trying to follow a general rule about low ceilings or narrow rooms.
Plan the cut tiles at both ends
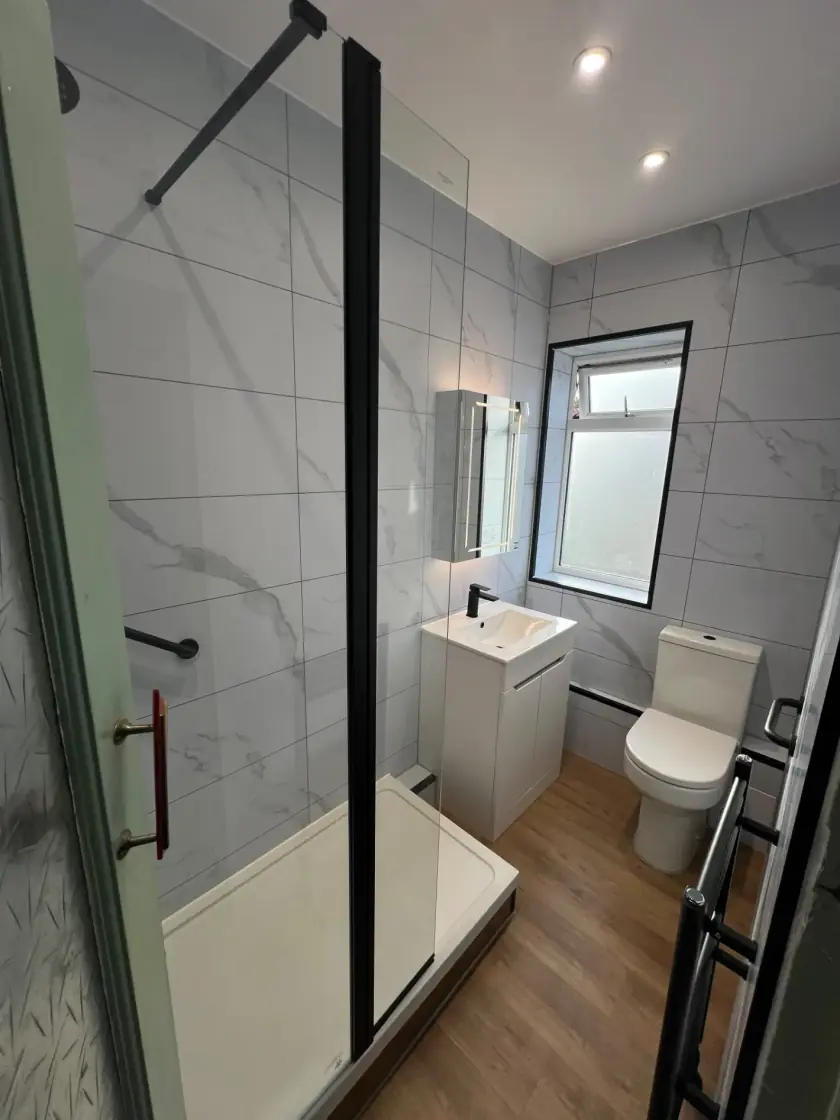
The fitter should work out how full tiles and cuts will meet the corners, floor and ceiling. Starting with a full tile at one edge can leave a very narrow piece at the other. Moving the starting line may give more balanced cuts. The right answer depends on the whole wall and the fittings, not only the first row.
Include the grout joints in the measurements. A small difference repeated across several rows can change the final cut significantly. Tiles also have actual dimensions that may differ from their rounded product description. Ask the installer to set out the chosen product using its real size and the manufacturer's recommended joint arrangement.
Check windows, recesses and shower controls
A window introduces inside corners, a sill and several exposed edges. Decide how the pattern will continue around it and what trim will finish the edges. Very small cut pieces beside a window can look awkward. Turning the tile may improve those cuts, but compare both directions before assuming one will always be simpler.
A shower recess needs suitable construction and waterproofing as well as neat tiling. Its position may be limited by the wall structure and pipes. Do not move or enlarge it purely to match a decorative line without checking those constraints. The shower controls and screen fixings also need to land in sensible positions that suit their installation requirements.
Choose straight or staggered rows deliberately
Straight stacked rows put the joints above one another, creating a clear grid. A staggered pattern offsets the rows. Some larger rectangular tiles have limits on the amount of offset recommended by the manufacturer because of their shape. Ask the tiler to check the product guidance rather than copying a brick pattern from a photograph.
Herringbone and other angled patterns introduce more cuts and a different appearance. They can work on a feature area, but they also change the fitting time and amount of tile needed. Our bathroom tile pattern guide explains these alternatives. Choose the pattern and direction together so the quote covers the arrangement you actually want.
Keep mixed directions purposeful
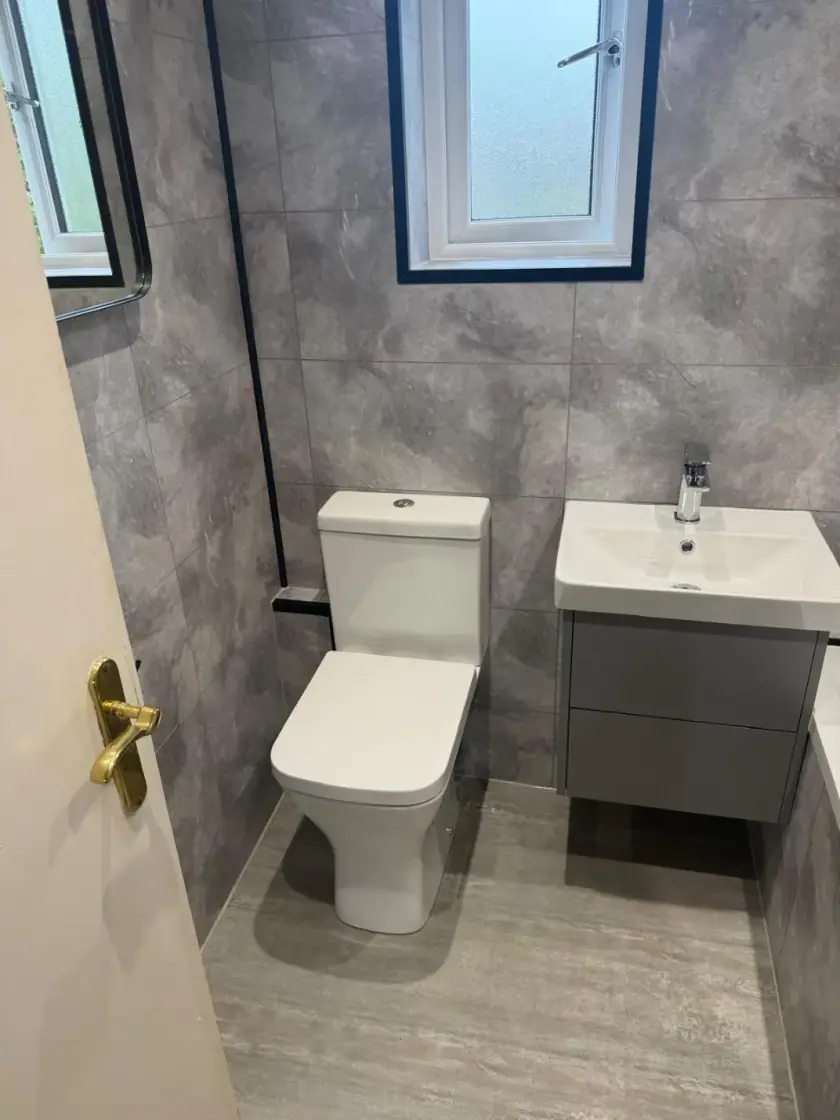
You can use vertical tiles behind a basin and horizontal tiles elsewhere, but plan where the change happens. A clear edge or separate wall is usually easier to understand than a pattern that changes halfway across an uninterrupted surface. Check how the grout lines meet at corners and whether the transition needs a trim.
A small bathroom does not need several patterns to look finished. One consistent arrangement can leave the storage, mirror and fittings easier to see. If you want variety, a different colour or a single feature area may be enough. Use samples to compare the options instead of adding more detail because the first drawing looks plain.
Direction does not replace sound installation
Turning a tile does not make it more waterproof or suitable for a weak wall beneath the tiles. The wall needs proper preparation, support and an appropriate waterproofing system in wet areas. Both vertical and horizontal layouts need careful alignment. Uneven walls should be assessed and prepared rather than hidden with a supposedly more forgiving pattern.
Cleaning depends more on the tile texture, grout and number of joints than on direction alone. Follow the chosen materials' care instructions. A close grout colour can make joints less visible, but it does not remove them. If reducing grout cleaning is the main priority, compare larger tiles or suitable wall panels as part of the same design discussion.
Agree the layout before fitting begins
Ask to see the proposed starting lines, cuts and trim positions before the tiles are fixed. Include the pattern, coverage and preparation in the quote, with a suitable allowance for cuts and spare material. Changes made after fitting starts can waste tiles and time, so settle the visible details while adjustments are still straightforward.
During a Glasgow bathroom design appointment, bring photographs of the room and the tile styles you prefer. Explain which walls and fittings you want to keep. Call Dream Bathrooms Glasgow on 0141 471 9145 to discuss the layout and the work needed for your bathroom.
Plan your bathroom in Glasgow
Talk through your room, the changes you want and the work that needs to be included.