
Choosing Grout Colour for Bathroom Tiles
Updated 11 October 2026
Grout colour changes how clearly you see the pattern between your tiles. A close match makes the joints less noticeable; a contrasting shade outlines each tile. Test the colour with your actual tiles and bathroom lighting before committing to the whole room.
Decide whether you want to see the tile pattern
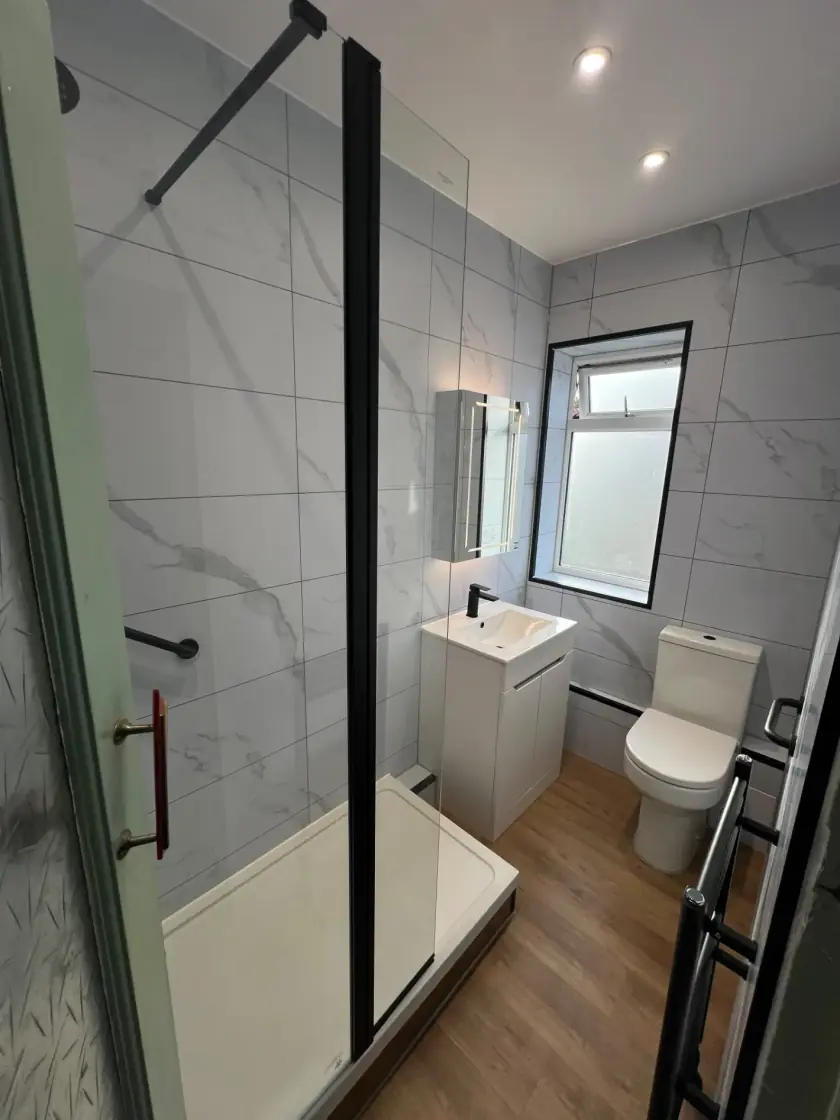
White tiles with dark grout show a strong grid. The same tiles with a similar white grout create a quieter-looking wall. Neither is automatically better for a small bathroom. A busy pattern, the amount of contrast and the other fittings all affect the result. Look at the whole wall rather than choosing from a tiny colour chip alone.
If the tile itself has a strong pattern, a close grout match can avoid adding another competing line. If the arrangement is the feature, contrasting grout can make it clearer. In a herringbone or small mosaic layout, there are many joints, so the grout colour has a larger role than it does with broad plain tiles.
Compare warm and cool shades beside the tile
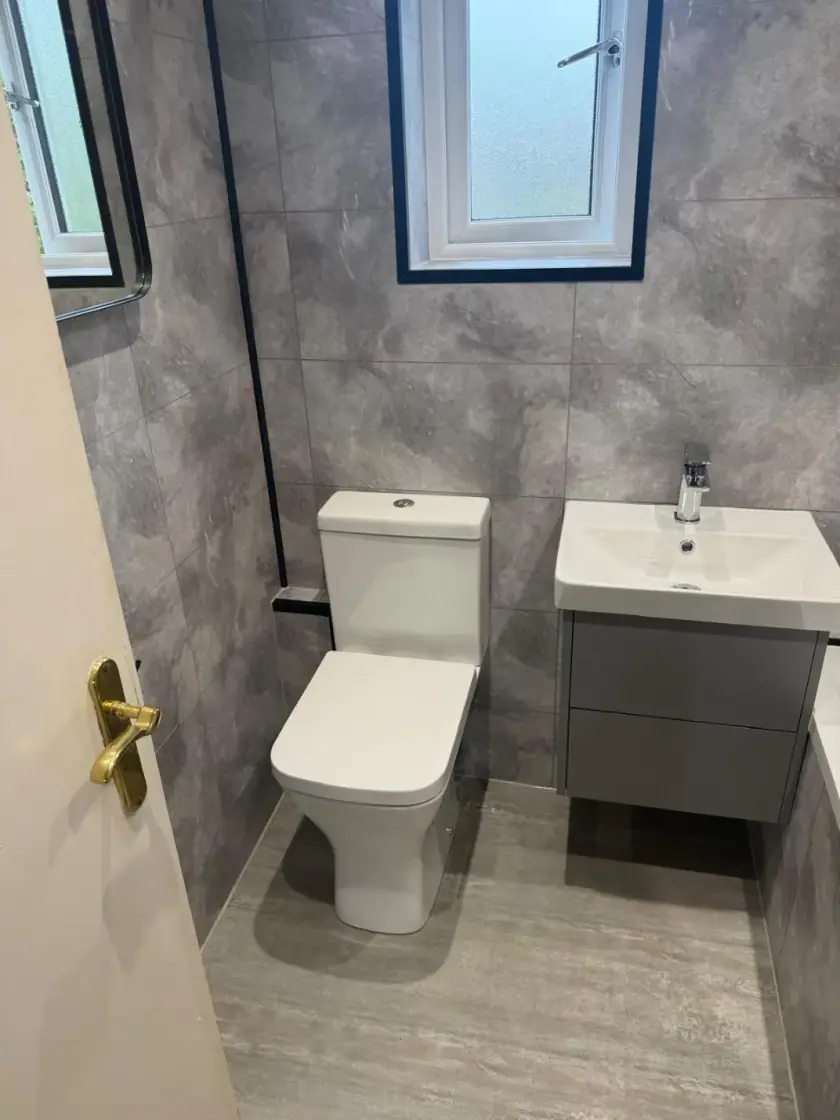
Two greys can look quite different together. One may have a warmer brown tone and another a cooler blue tone. The same is true of whites and creams. Put the proposed grout sample beside several tiles from the selected range, especially if their colour varies. A match to one part of a patterned tile may contrast with another.
Include the nearby floor, vanity and wall paint in the comparison. You do not need to match every item exactly, but an unexpected colour difference can become more noticeable across a large area. Look at the samples in daylight and under the lights planned for the bathroom. A shop's bright display lighting may give a different impression.
Compare a dry grout sample where possible
A printed chart or online image is a guide, not a guaranteed match to the finished grout. Ask whether the supplier has a physical sample or whether the tiler can prepare a small test board. Let the test grout fully set as instructed before judging the colour. Wet grout and a freshly washed surface can look different from the finished dry joint.
Use the same tile and intended joint width in the test. Keep a record of the grout brand, product and colour code once chosen. Names such as silver grey or ivory do not identify an exact colour across manufacturers. A photograph can help record the design, but it does not replace the actual product details for a later repair.
Match the grout to the tile and use
Colour is only one part of selecting grout. The product must suit the tile material, joint size and location. Natural stone or a textured surface may need particular preparation or care. Ask the tiler to check compatibility and whether a test is needed to avoid staining or residue. Do not assume the same grout is right for every surface in the room.
Different grout types have different fitting and maintenance requirements. A specialist product may offer useful properties but need a different installation method. Compare those details with the cost and care involved. Grout fills tile joints; it is not the adhesive holding the tiles in place, and its colour does not affect the strength of the wall behind them.
Do not confuse grout colour with waterproofing
Tiles and grout alone do not form a complete waterproof shower system. The wall or floor beneath the tiles and waterproofing need to suit the wet area. Corners and other movement joints may require a suitable flexible sealant rather than rigid grout. Ask the installer to explain those details and how the shower connects to its tray or bath.
A colour-matched sealant may be available, but its appearance can differ slightly from the grout because it is a different material. Compare the products together if that detail matters to you. Do not replace a specified flexible joint with grout just to get an exact colour match. The joint needs to do its job as well as look neat.
Choose a colour you can look after
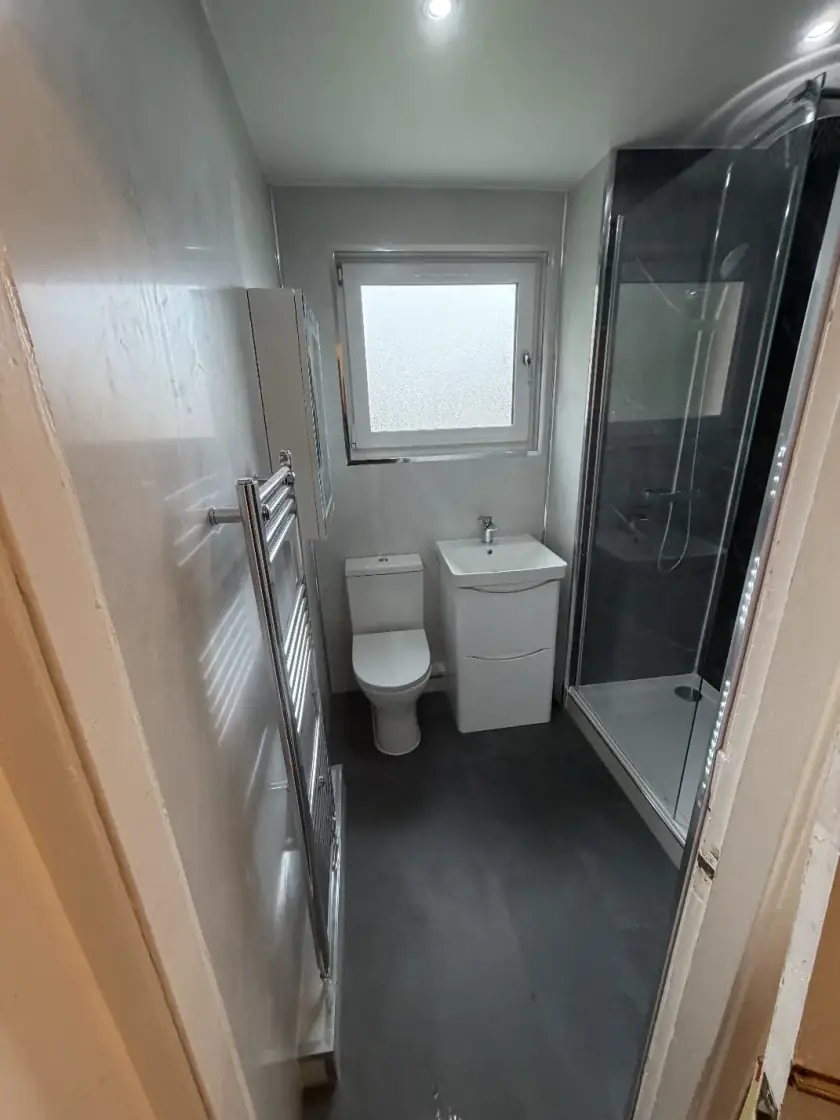
Light grout can show some stains more readily, while dark grout can show pale residue and changes in colour. No shade removes the need for cleaning. Follow the manufacturer's care instructions and check whether the particular grout or tile needs sealing. There is no universal rule that every bathroom grout must be sealed on the same schedule.
Avoid unsuitable harsh cleaners and abrasive methods that can affect the joint or tile finish. Keep the room ventilated and deal with recurring damp at its source. Dark grout should not be chosen to hide mould or a leak. If joints repeatedly crack, loosen or discolour, have the cause checked instead of simply changing the colour over them.
Plan repairs and spare material
Keeping spare tiles and the grout product details can help with later repairs. Stored grout has shelf-life and storage requirements, so an old opened bag may not remain usable indefinitely. Ask the supplier what is sensible to retain. Even the same colour can look different beside older grout, so a small repair may remain visible.
If you want to recolour existing joints, first check that they are sound and that any treatment is suitable for the grout and tile. Colouring over a damaged joint will not repair it. Our grout-free bathroom ideas also explain alternatives if reducing grout cleaning is a main reason for replacing the walls.
Confirm the colour before tiling is finished
Put the selected grout product and colour in the agreed bathroom specification. During a bathroom design appointment, compare it with the tile layout, trims and fittings rather than leaving it as a last-minute decision. Call Dream Bathrooms Glasgow on 0141 471 9145 to discuss the finishes and work you want for your bathroom.
Plan your bathroom in Glasgow
Talk through your room, the changes you want and the work that needs to be included.